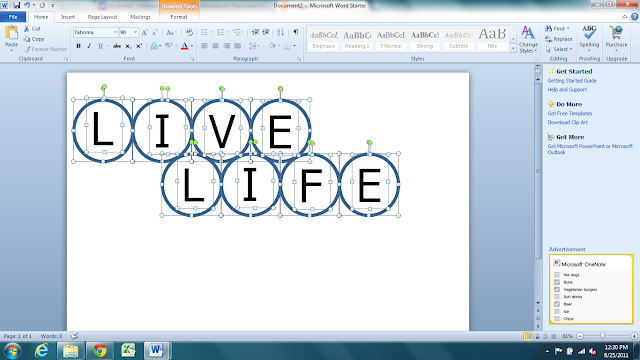
So here are the two headers that I made this week. I will show you the basics, and then you can go from there. I will show you how to make the bottom one here with the circles.
You will need Microsoft Word. I have Word 2010, but I'm sure the other ones are similar.
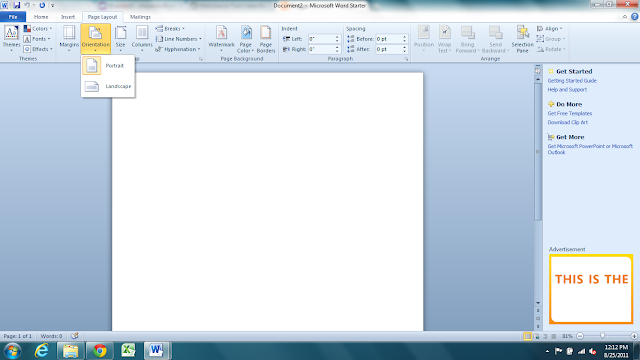
1. Open a new document and change the orientation to Landscape.

2. Insert a shape. For this example, I will do circles.
I inserted one circle and formatted it how I wanted it, then I copied and pasted the rest. These circles have no fill and a thick, blue outline.
3. Then you can add your Text Box. Make sure to select no fill and no outline if you do not want them showing. Then change the font and the size. I had to do a separate text box for each circle.
5. Now you have to Group all the parts together. This is the tricky part. You will need to click on one part (circle or text box) then while holding the shift key, click on each of the other circles and text boxes without losing any of the ones you've already selected. Once they are all selected, continue to hold the shift key and right click, select Grouping, then select Group. Now you will Ctr + C or copy. Then when you paste, you will Paste Special, and you will paste it as an image.
 |
| When I group, the first time I right click, I usually lose one of the text boxes or cirles, so I right click again and it is back. |
6. After you've pasted it as a picture, you right click and SAVE AS PICTURE.
7. Once you've saved it, you can change your header in blogger.
*I tried it in Word 2007 and was having trouble. Not sure what 2003 is like. Haven't tried with Mac either.
Hope this helps. Have fun.


No comments:
Post a Comment